
NASA Stennis Space Center case study
Across three projects, NASA Stennis stories became an original four-coin collector series, two additional coins, and a commemorative design celebrating 65 years and more than one million seconds of engine testing. Explore the artwork and photographed pieces to see how each coin carries its own part of that history.
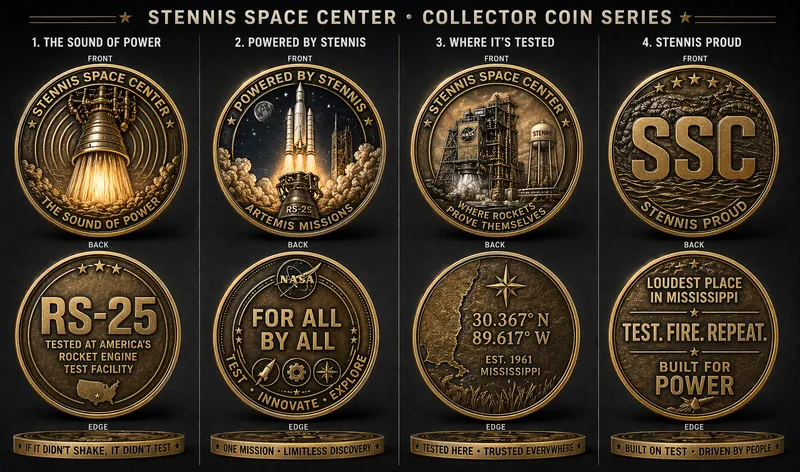
The details behind the designs
Reference images and AI-assisted concepts provided a starting point. The structures and mission marks were then checked against accurate source material so people familiar with Stennis could recognize them in the artwork.
Raised engines and structures stand apart from recessed backgrounds. The sculpted depth brings the scene into focus while leaving the names and inscriptions easy to read.
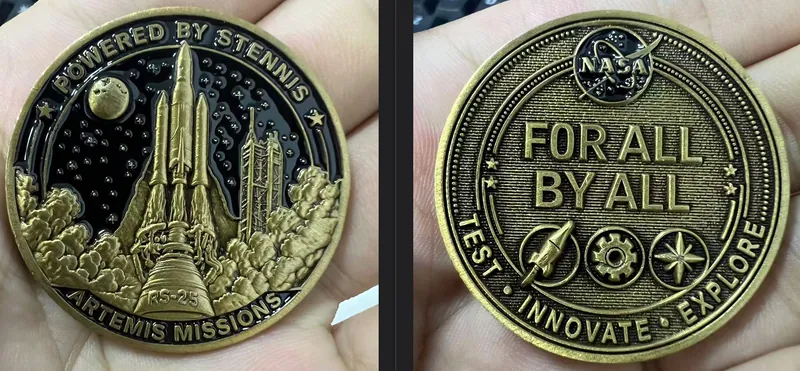
Artwork proofs and physical samples show how antique finishes, enamel colors, edge details, and coin thickness affect the look and feel of each design. These examples let you compare the options for your own coin.
Project One · Original four-coin series
The original four designs share a similar scale, sculpted depth, antique-metal finish, and detailed edges. Together they form a coordinated collector set, with a different Stennis story on each coin.
Project One · Coin 1
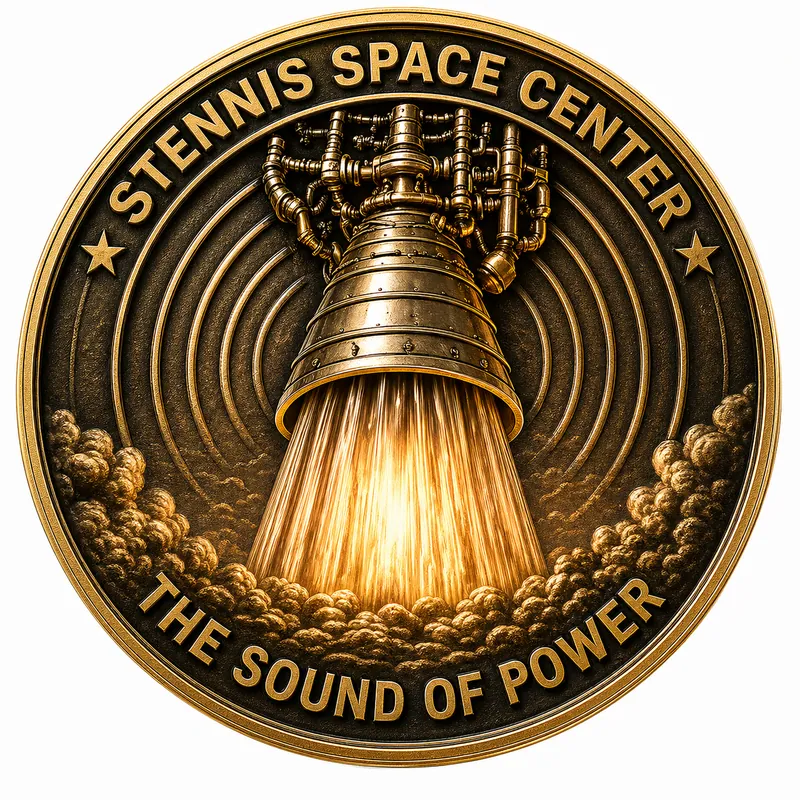
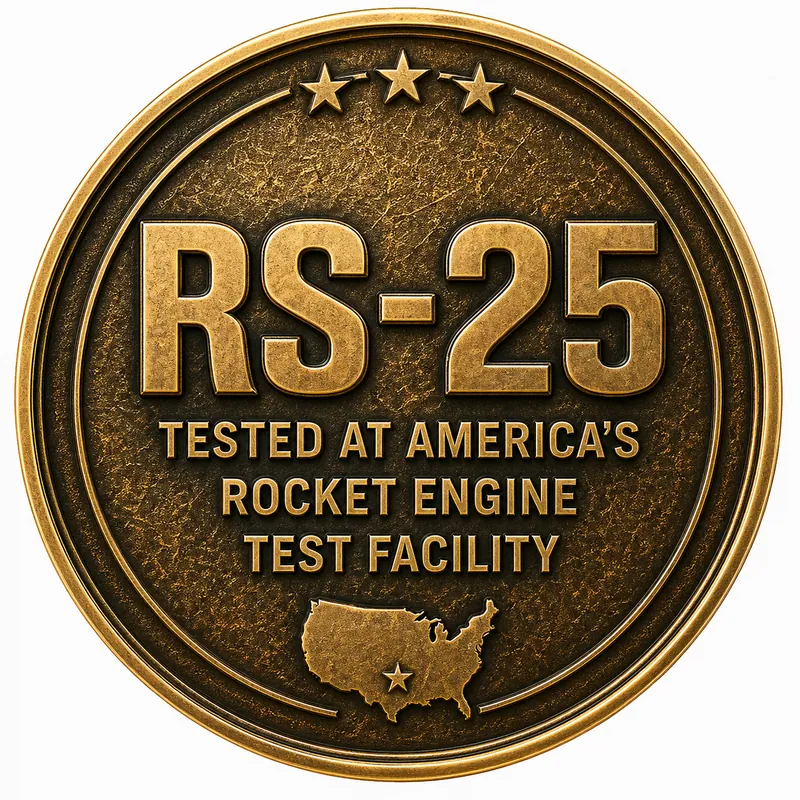
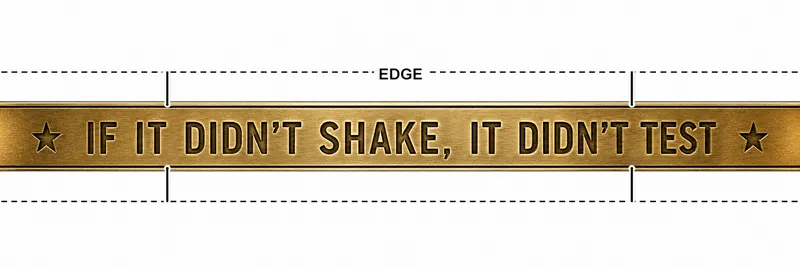
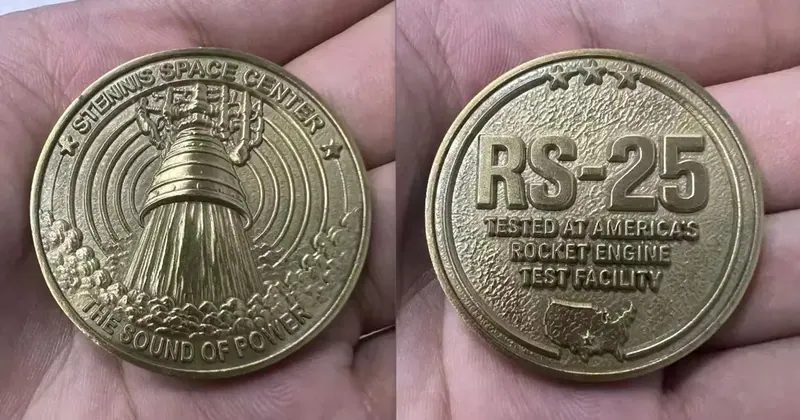
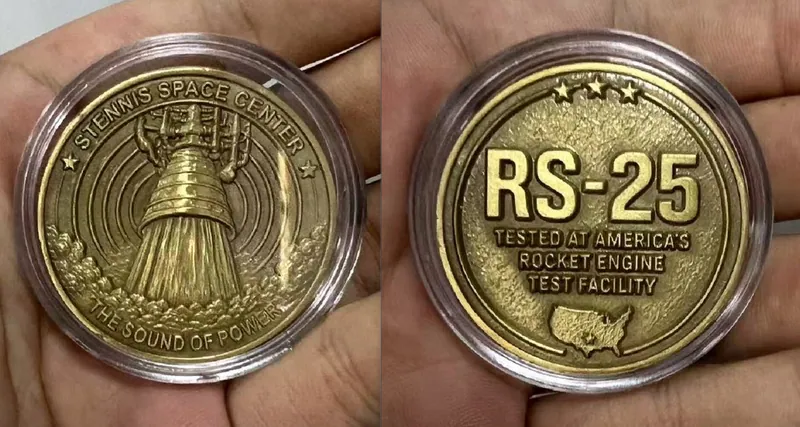
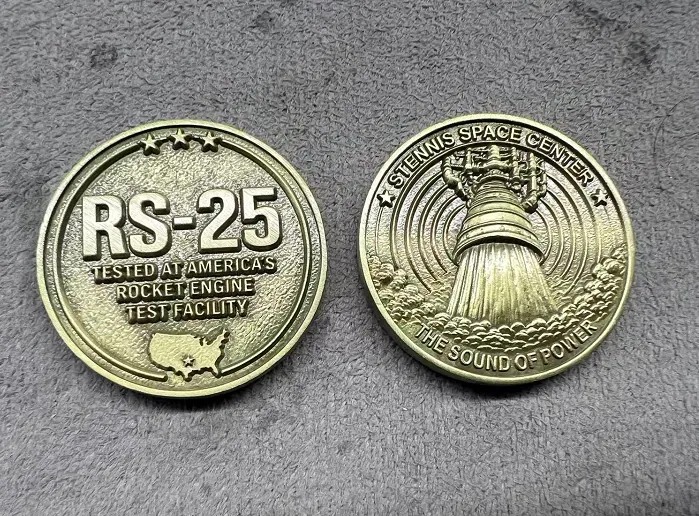
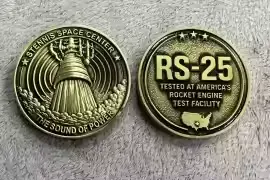
The Sound of Power puts engine detail at the center of the design. Raised metal stands out against dark recessed areas, with edge lettering adding another part of the story. Compare the artwork, finishes, and physical sample below.
Project One · Coin 3
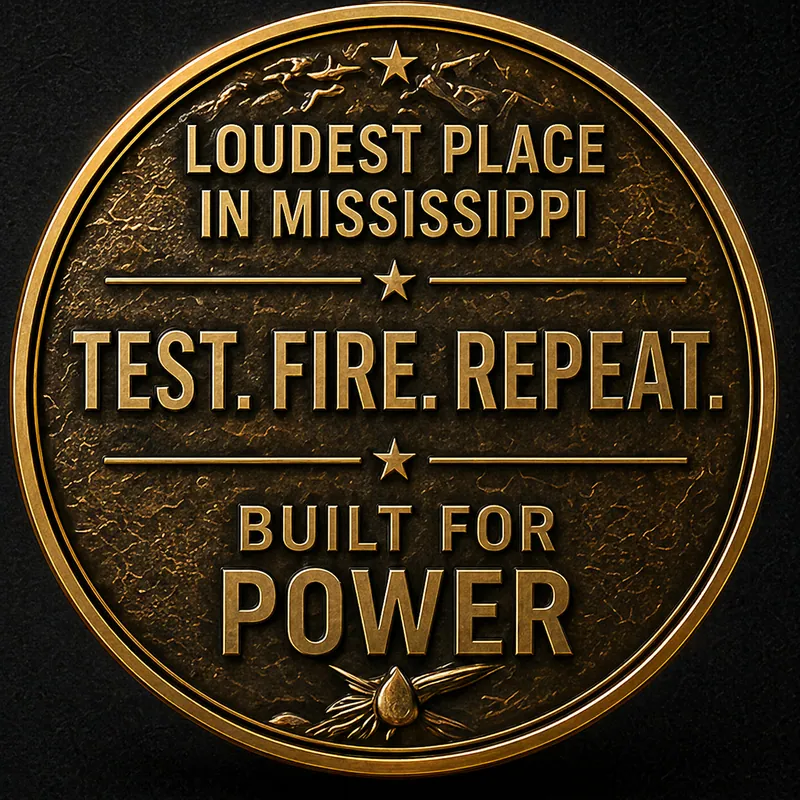
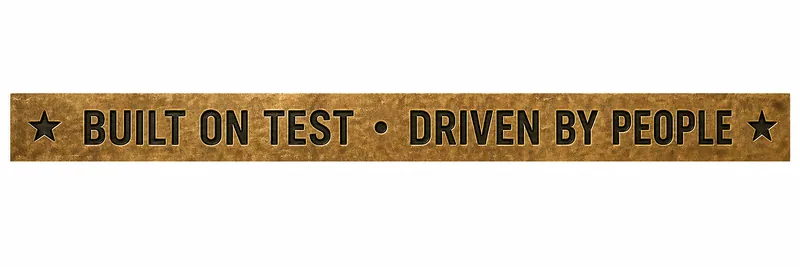
Test, Fire, Repeat celebrates Stennis and the energy of engine testing. An accurate test-stand image replaced an early concept, keeping the structure recognizable alongside the location inscription and edge details.
Project One · Coin 2
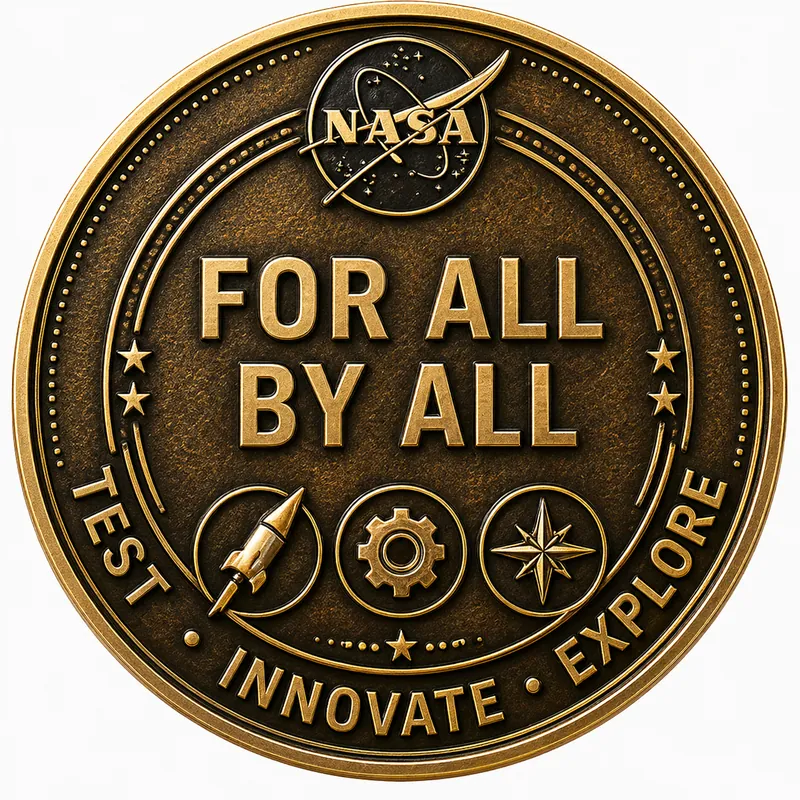
For All, By All recognizes the people and place behind the missions. Its antique-metal design uses contrast between raised details and recessed backgrounds to keep that message clear.
Project One · Coin 4
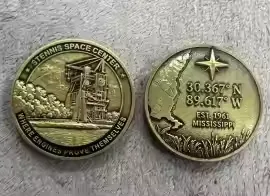
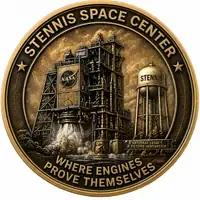
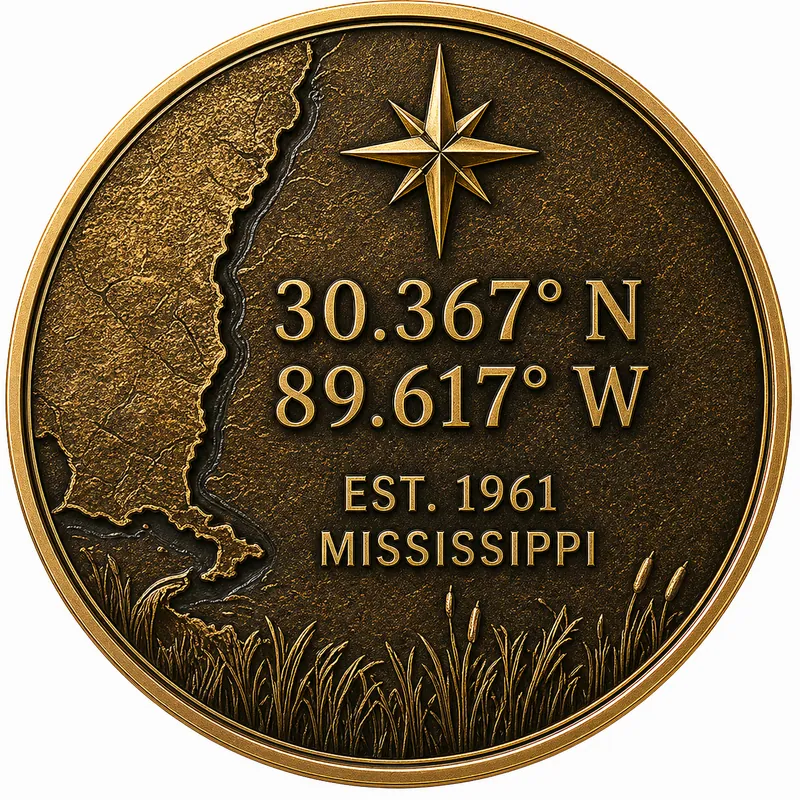
Prove completes the original four-coin set with the message "Where Engines Prove Themselves." The front, back, and edge bring the Stennis location, test stand, and inscription together in sculpted metal.

Project Two · Two additional coins
A second project added Artemis II / Powered by Stennis and the SSC Center coin. These two designs combine mission and Center identity with different color, relief, and finish choices from the original collector series.
Project Two · Coin 1
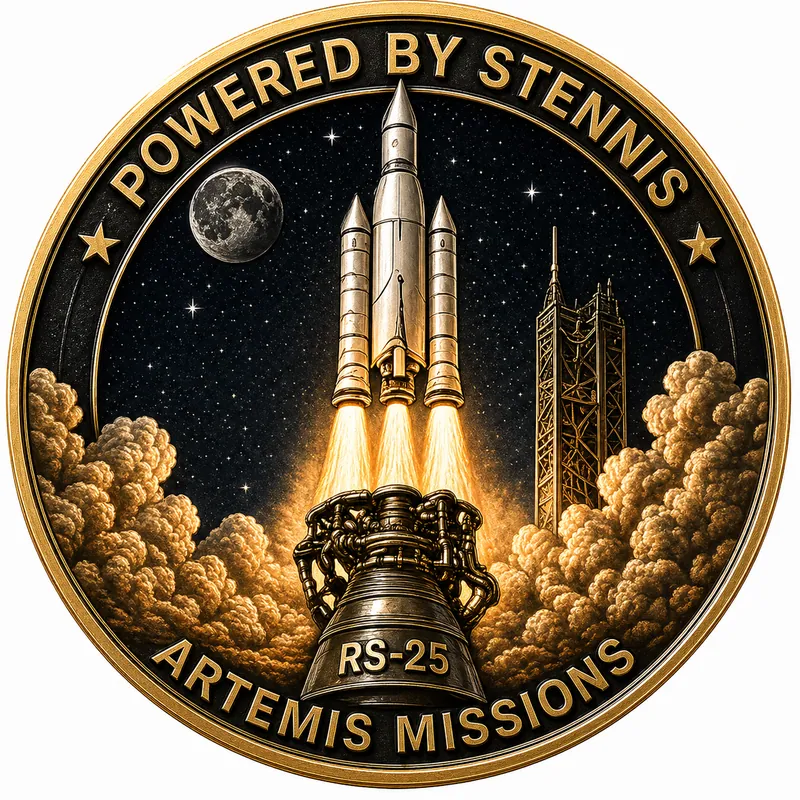
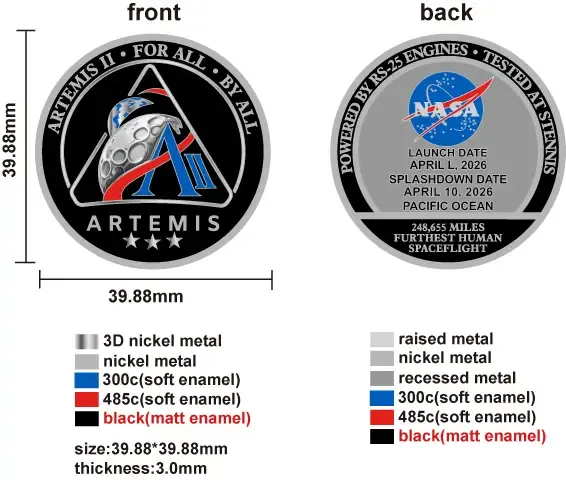
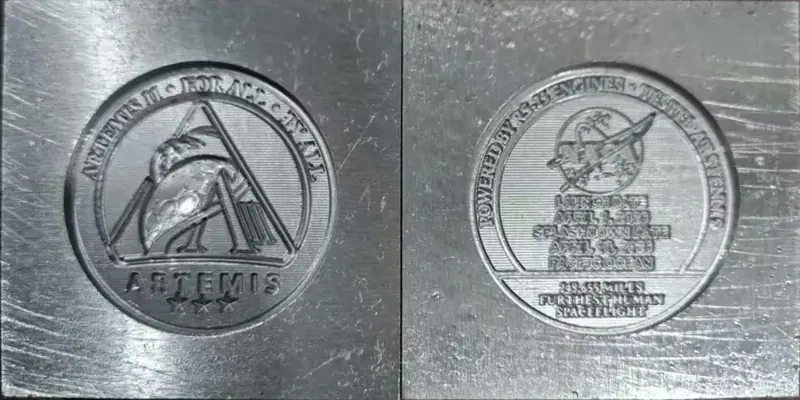
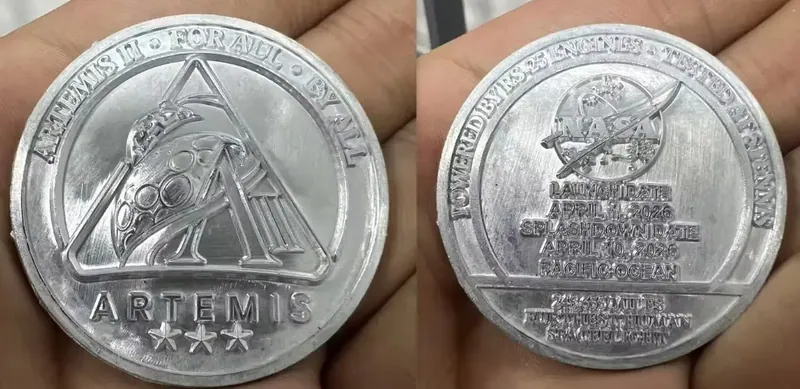
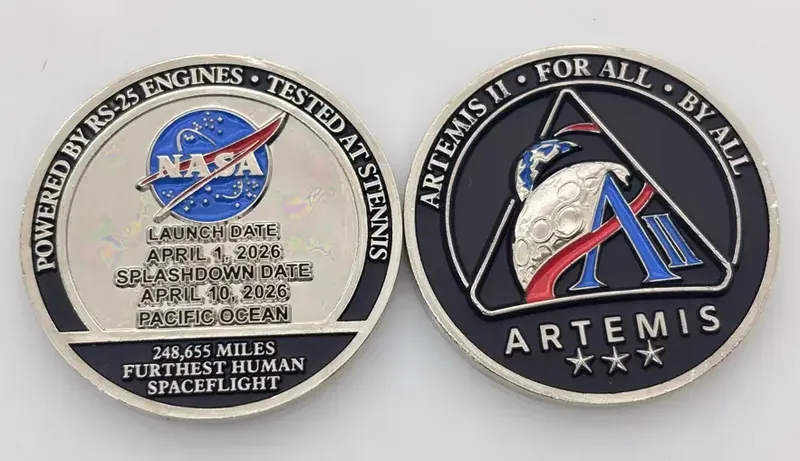
The Artemis II / Powered by Stennis coin connects the mission with the place behind its engine testing. Compare the artwork, sculpted metal, and color proof to see the mission details take shape.
Project Two · Coin 2
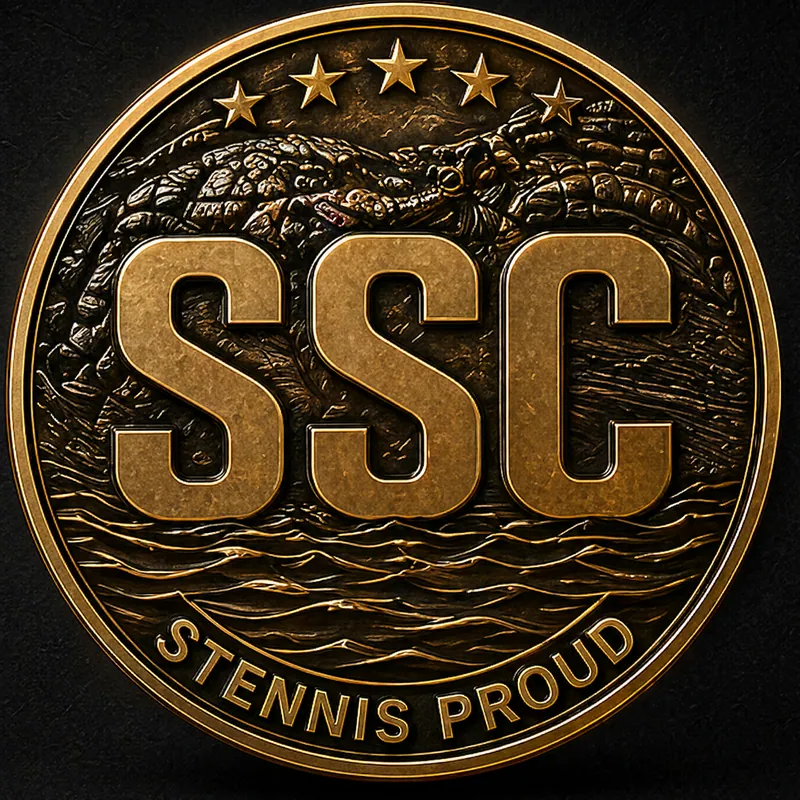
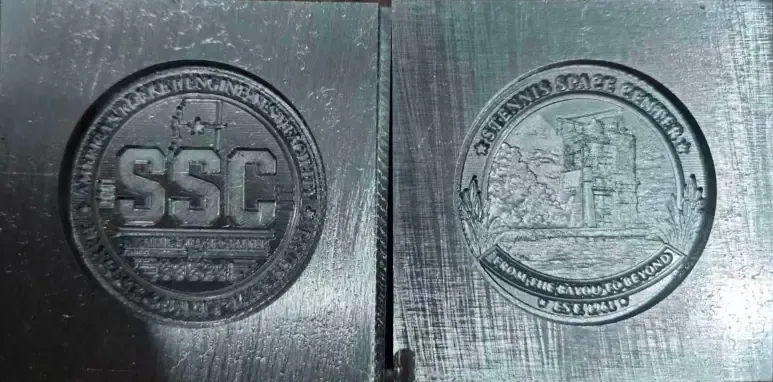
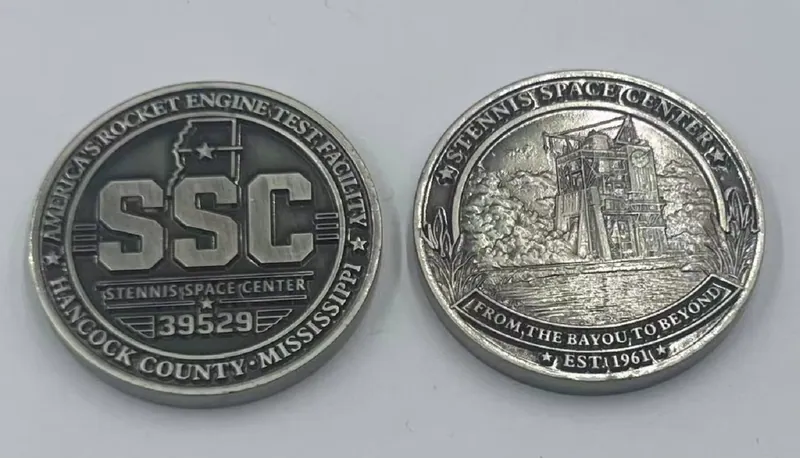
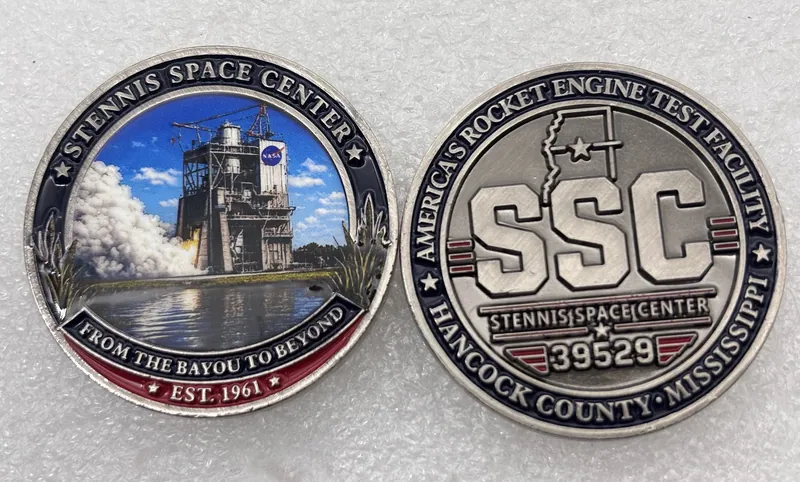
The SSC Center coin gives Stennis its own presentation piece. The supplied logo and artwork carry the Center's identity, with the proofs below showing the relief and design details.
Project Three · 65 years at Stennis
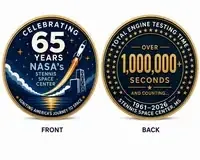
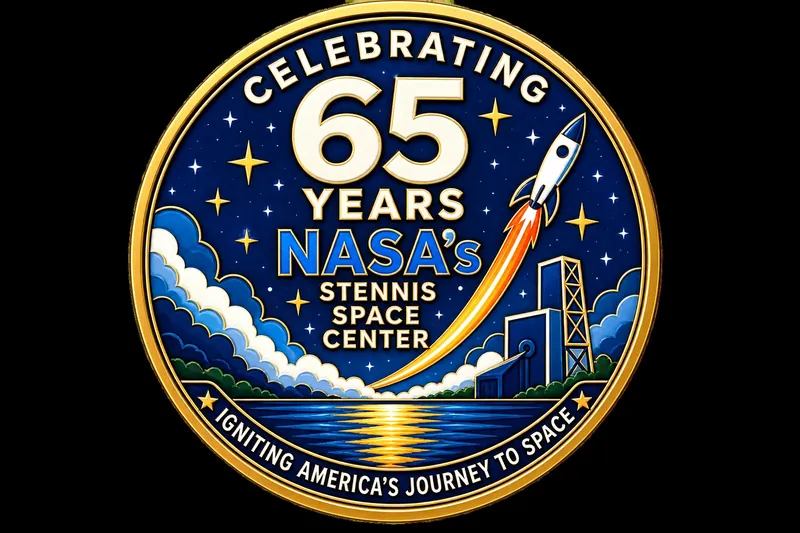
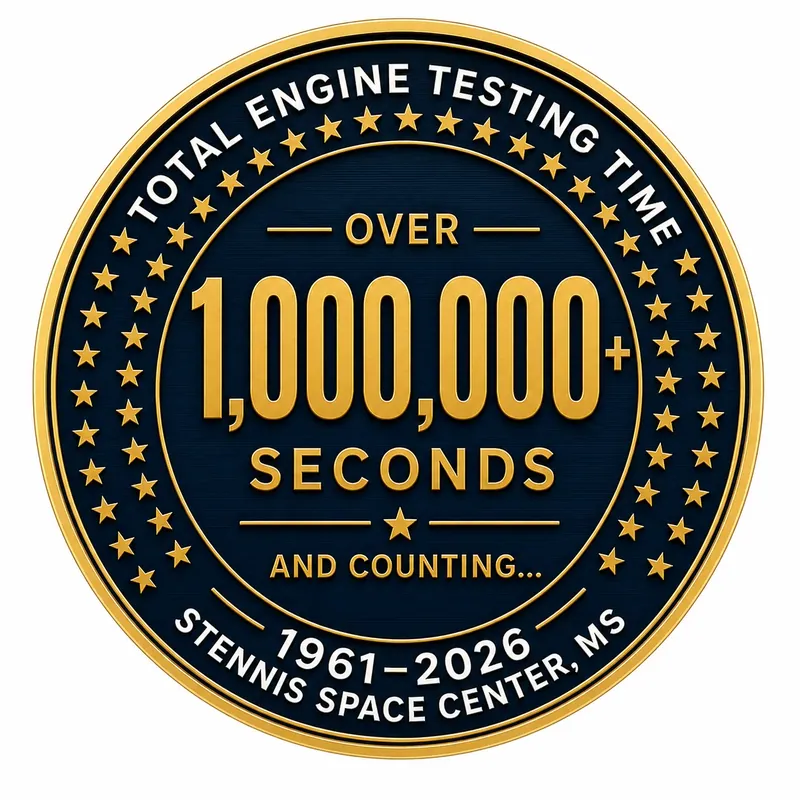
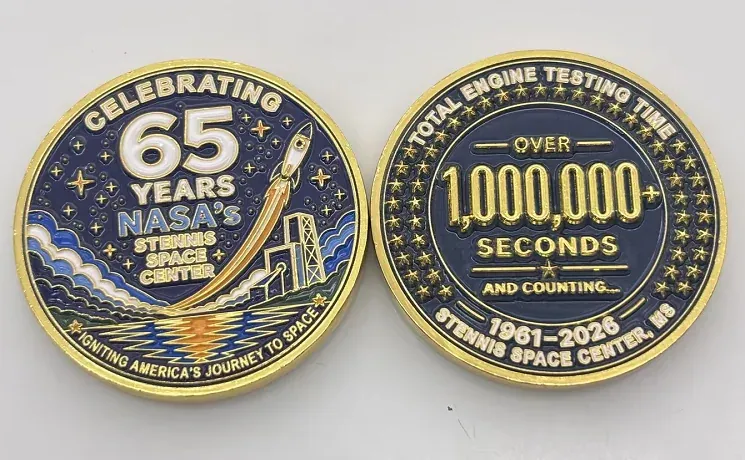
Stennis supplied the original front-and-back concept celebrating 65 years of NASA's Stennis Space Center and more than 1,000,000 seconds of total engine testing time. GOATED COINS refined that customer-supplied artwork for the commemorative coin. Below, the original concept leads into our refined front and back artwork and the finished production piece.
Have a story you'd like to put on a coin?
We can help you choose the artwork, finish, and details for a challenge coin that means something to the people receiving it.